Sunday, October 9, 2011

It's A Great Pumpkin Patch, Charlie Brown!

Saturday we went to pick our own pumpkins at a local pumpkin patch! It was in our plans so when Molly (4) pulled it from our countdown calendar she wasn't surprised... but she was happy! The past several years we've visited the KC Pumpkin Patch in Gardner, KS. It has been very fun, but also very expensive. They boast fifty activities, such as big slides, duck races, mini petting zoo, giant jumping pillow (which is actually really cool), and two different kinds of train rides. Plus apple cider slushies. However, it costs $10 per person... including anyone over age 3, and pumpkins are charged by weight, so we opted for a cheaper version this year.

We got back to the basics of pumpkin picking and chose to visit the Powell Pumpkin Patch in Louisburg, KS. Entry is free and pumpkins are priced by size. None of ours (even our biggest) cost over $5. They offer free hay rides out into the pumpkin patch. It had a very personable feel... your wagon would drop you off in the field then wait to give you all a ride back with your pumpkin(s) of choice. Out in the fields, we set Ben (1) on a pumpkin for a cute photo op, and then he started sitting on all the pumpkins! Needless to say, we got several cute shots on our visit. I love that it wasn't crowded at all!!
Powell Pumpkin Patch also has a corn maze, which costs just $4 per adult; kids 6 and under are free. There was a series of letters and Kansas trivia hidden in the maze for you to find and decode. Our kids were too young for that, but enjoyed taking turns leading the way and Ben just liked picking up and throwing the dirt. Just outside the maze was a great hay playground for kids. They had a hay maze and giant hay piles to climb on, a tunnel to crawl through, and a slide to go down. There is also a big, clean sand box filled with great trucks and diggers.

We all had a great time and I'd highly recommend this pumpkin patch! Keep in mind, however, that they only serve some candy and canned drinks because it's basically a little "pumpkin shack" out in a field! Nothing fancy, but that's part of why we liked it so much!

For more information on either pumpkin patch mentioned in this blog, please visit:
www.kcpumpkinpatch.com
www.powellpumpkinpatch.com

Saturday, October 8, 2011

Easy Halloween Lunch Ideas!

I took a personal break on the fifth day of our Halloween Countdown, and sneaked a little surprise into the pocket that day. It was easy for me and fun for the kids: a win-win situation! I picked up a few little things from Target and Walmart just for this purpose. This time they each got a little plastic skeleton, sold from Target in a pack of two for just $1.

The next day our note said to have a spooky Halloween lunch. I made the kids some Halloween shapes Kraft Macaroni and Cheese (5 for $5 at Target) which was really cute. It has jack-o-lanterns, bats, and ghosts in it. I also made some hot dog monsters... so easy. I sliced a hot dog to have eight tentacles and added eyes and a nose using a dab of mustard. This idea is also great for summer because it can be an octopus! I'm pretty sure I saw this in a magazine once and just stashed it in the back of my head for another day... probably a Parents or a Parenting: the Early Years magazine.


Here's a second spooky lunch idea that we had one day just for fun! I took grilled cheese sandwiches and cut out pumpkin faces in one slice of bread before cooking to make a jack-o-lantern. I was pleasantly surprised to discover the cheese did NOT seep through the holes and make a mess on my skillet! Secondly, I served tomato soup and piped some concentric circles onto it with sour cream using a sandwich bag. Again I was happy to find it didn't sink! Then I dragged a toothpick through it to create a spider web. Yummy and yucky at the same time - Halloween success!

Tuesday, October 4, 2011

Ghost Craft plus a Snack

Day 4 of our Halloween Countdown was all about ghosts! We made ghost ornaments and had a ghostly snack.

For ornaments, I tore apart an old (but clean) egg carton. I had Molly (4) draw faces on each one with permanent markers. She liked adding extras like hair and noses... not your normal ghostly features, but it was fun. This was also a good time for a lesson on emotions because each face turned out so different! After the faces were complete, Molly poked a hole in each top simply with a ball point pen. I threaded some yarn through and knotted the end a few times so it wouldn't slip out. We hung the little army of ghosts in our tree out front, on varying lengths of yarn. They're surprisingly visible from the street!

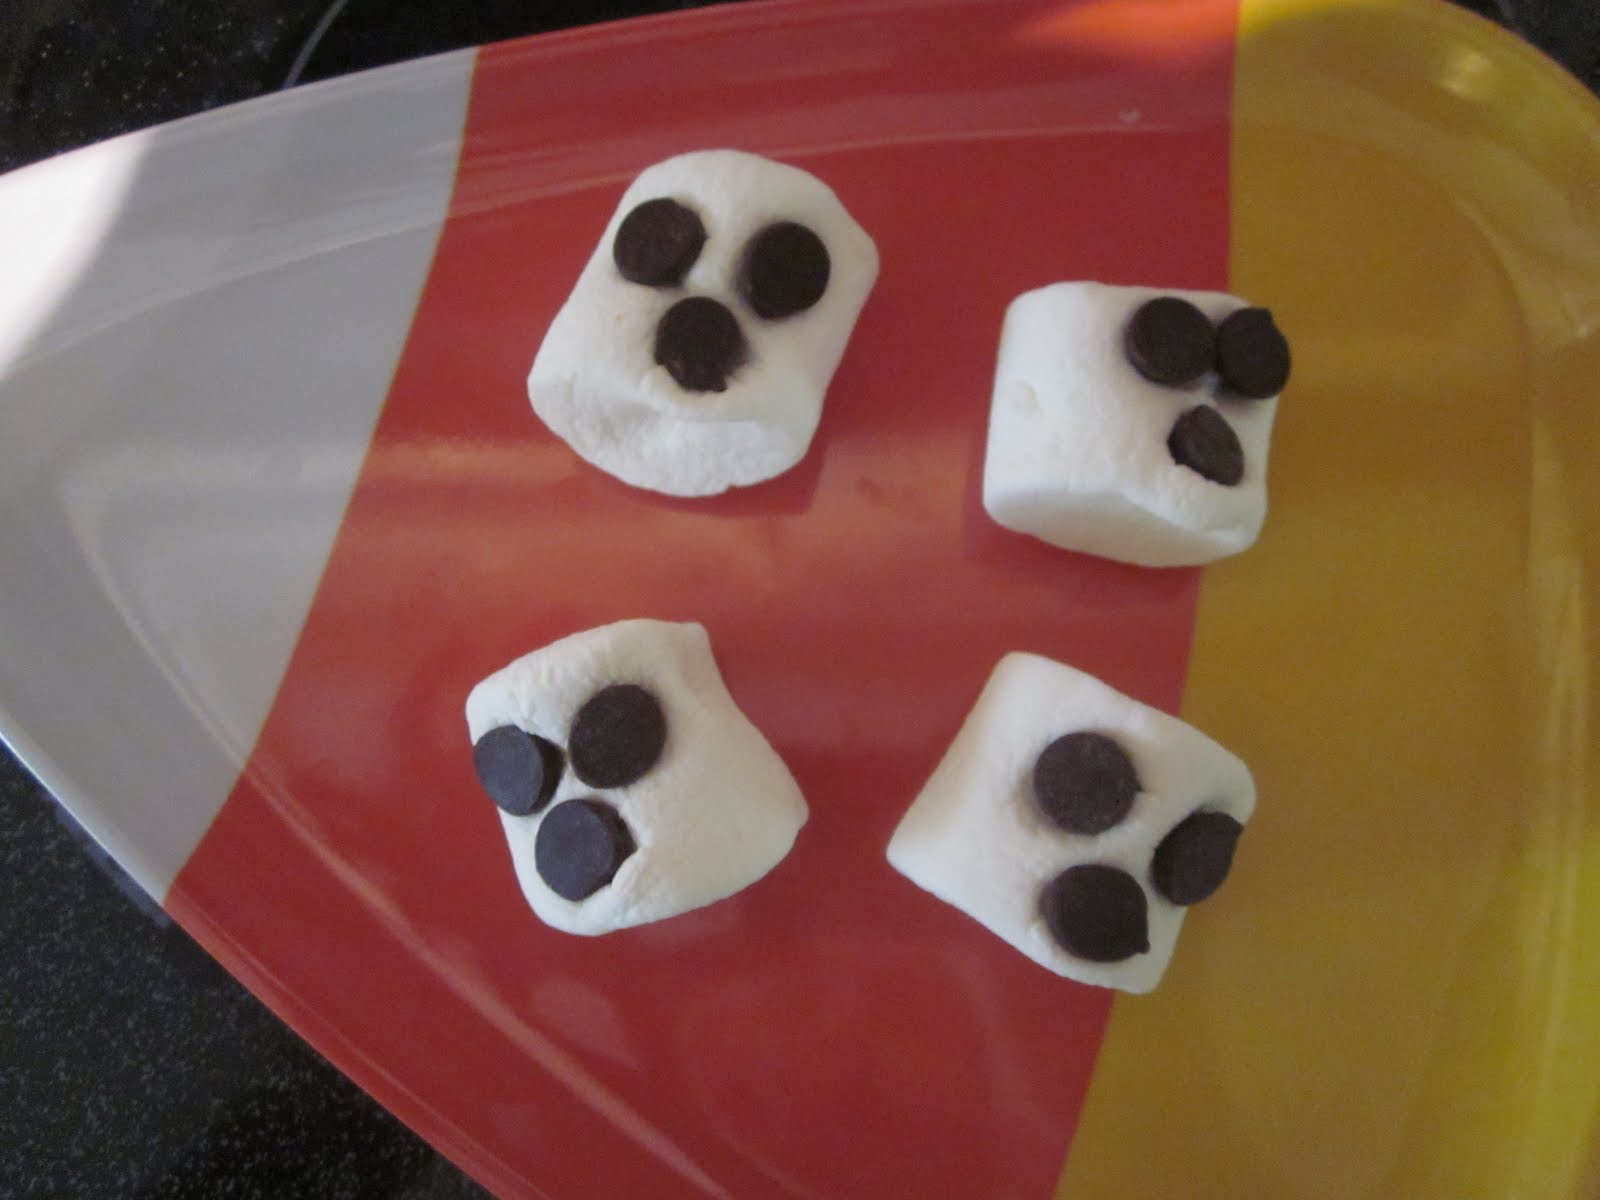
After the decorating was done, I sneaked in the kitchen to make a quick and very simple snack: marshmallow ghosts! I came up with this idea literally right before I executed it, they were so ridiculously easy. I wasn't even going to blog about it, but Molly was so excited for them.

Start with a marshmallow. Press three chocolate chips into it to create a ghost face. I kind of pinched open the marshmallow before pressing in the chocolate chips to help it stick. Done.

Creepy Potions

Sunday was Day 9 of our Halloween Countdown and after such a big outing the day before, we just watched a Halloween DVD that day. Meanwhile, I'll blog about a fun project I threw together the other day!

Here's a quick and easy Halloween decoration idea: creepy potion bottles! Clean out some old glass bottles or flower vases and dry the outside really well. You don't even need to take off the labels. Cut spooky Halloween scrapbook paper down to size to fit over the old labels. I used a few different designs for a layered look and stuck it all together using permanent roll-on dots. I embellished with some stickers and wrote my own labels with permanent markers. Finally, fill your jars with colored water. These are perfect to display over your kitchen sink!


A few ideas for creepy labels are: "A Positive" (or other blood type); "Ghoul-Aid"; "Liquid Night"; "Boo! Juice"; "Pumpkin Potion"... or "True Blood!"

Monday, October 3, 2011

Hoots and Howls

Before October begins, I accumulate a list of happenings during the month and make a list of all the different ideas I've come up with to do. I reuse many ideas from year to year that are pretty simple, or fill-in with things I can figure out later, such as "make a Halloween craft" or "have a special Halloween snack". Then I look at a calendar and figure out which activity will be best for which day. I pencil it into my schedule book and stick the notes in their corresponding calendar pockets. Every day needs to be flexible though, and I have already switched around day 2 and 3 depending on what was going on and how I felt that day! Hence the PENCIL in my agenda!

Day 2 was a big one: we went to the Kansas City Zoo! During the first four weeks of October they have what they call "Hoots and Howls". The zoo is decorated with some Halloween and fall decor, including a huge collection of scarecrows you pass while riding the train! They also have some kids' activities, like a really neat cart with hanging pots and pans for your children to drum on with provided drum sticks! They also boasted a free hay ride and a separate kid's area, and though we saw both, Molly (4) opted to ride their new Sky Safari and see the snakes instead. Ben (1) was all about that drumming cart! What an awesome idea!

Day 3 was a fun and useful project: making Halloween cards! I've been really into making my own cards this year and Molly loves to play with stickers and stamps while I do the real work. To save time, the finished product wasn't very complicated, but I wanted Molly to be more involved so they each have a sticker of her choice on the cover and plenty of miscellaneous Halloween stickers and stamps inside! FYI: Target (which I obviously frequent...) is selling great sets of Halloween-inspired, 12"x12" scrapbook paper in sets of 8 or 12 sheets for just a buck in their dollar section!!

Halloween Countdown!

It's no secret that Halloween is my favorite holiday. I love decorating my house, I love the candy, I love the spooky stuff, I love the costumes... I love this season!! Life is good in October. We'll spend the whole month getting ready for the big day and count down to it with a special calendar my mom got me several years ago from Pottery Barn. Mine is huge and I love it, but you can also make your own or find another one; Target is selling a kit to make your own paper version for $8 that looked really cool!


Each day has a pocket and I fill them with notes, each with something special to do that day. This comes from a very special tradition I loved when I was a little girl: my mom had a Christmas calendar with pockets for us and most years they were also filled with things to do... many of them written in rhyme! I have written mine in rhymes before, but for now I usually draw pictures on the notes so Molly can "read" them herself. I also do this for Christmas, and I've done it as a countdown for school last year which was really cool and filled it with summer activities. My MOMS Camp this summer took care of all the activities this year though!

Meanwhile, we've already opened a few days on our Halloween Calendar so I'll play catch-up! On October 1st, our activity was to make handprint bats. I pulled out construction paper and finger paints. I had the kids mix up the different colors to create a blackish color (Molly (4) was very fascinated by mixing the paint!). Then we did a print of each hand facing different directions to create the wings. Molly and I painted a circle in the middle for the body and Molly decorated the bat's face. The finished product can actually pass for a bat OR a spider! lol

This was Ben's (1) first experience with finger paint and he really just kept poking at it. Then all of a sudden it was on his chest and forehead. I decided to give him some to squeeze without the mess so I squirted a few colors of finger paint into a well-sealed plastic bag. Yea for good, clean fun!

Sunday, October 2, 2011

Explosion of delicious

After Molly (4) and I made our own volcano one day, I came up with a special volcano snack to go along with it! I sliced a banana and stacked it up to look like a volcano. The slices were a little slippery but it stayed up alright. For the tip of the volcano I used the pointy end of a banana. Then I melted some semi-sweet chocolate chips in a small dish and mixed in some peanut butter... about 1/4 cup of chocolate chips and a tablespoon or two of peanut butter. I dribbled the chocolatey mixture over my banana volcano to make the lava!


This snack was a little messy for my one-year-old, but it was so delicious. I've craved it again since making it and have actually made it a second time for our afternoon snack.